Google Workspace Domain Verification If you’re setting up Google Workspace for the first time, domain verification is one of the most important steps. Without it, Gmail and other Google services will not work properly.
In this guide, I’ll walk you through how to verify your domain step by step using the recommended DNS TXT record method. No advanced technical knowledge required.
What Is Domain Verification?
Domain verification confirms to Google that you own the domain you’re trying to use with Google Workspace.
Until your domain is verified:
- Gmail will not be activated
- User accounts may be limited
- Admin setup remains incomplete
The DNS TXT record method is the easiest and most reliable way to verify your domain.
Step 1: Start Domain Verification in Google Admin
- Log in to admin.google.com
- Go to Account
- Select Domains
- Click Manage domains
- Choose Verify domain
Google will generate a TXT record specifically for your domain.
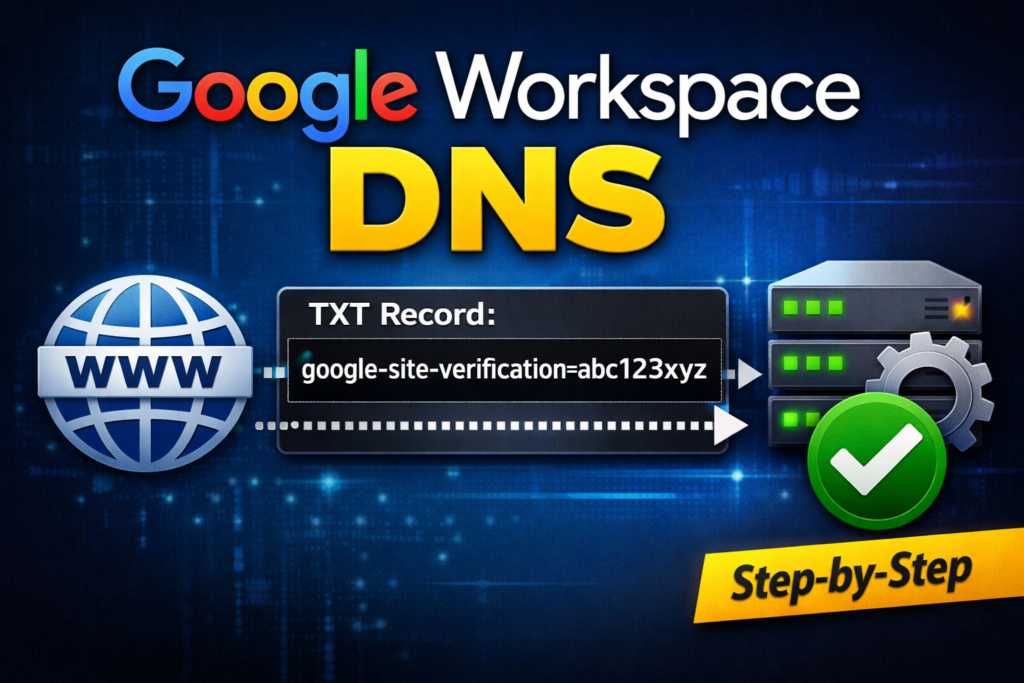
You’ll see a value similar to:
google-site-verification=xxxxxxxxxxxx
Step 2: Copy the TXT Record
Copy the entire TXT record provided by Google.
You’ll need to paste this exactly into your domain’s DNS settings.
⚠️ Make sure there are no extra spaces when copying the value.
Step 3: Add the TXT Record to Your DNS Provider
Log in to your domain provider (such as GoDaddy, Cloudflare, Namecheap, or others) and add a new DNS record with the following details:
- Record Type: TXT
- Host / Name:
@ - Value: Paste the Google verification code
- TTL: Auto or Default
Save the record.
Important Notes:
- Do not delete existing DNS records
- Ensure you’re editing the correct domain
- DNS changes may take a few minutes up to 30 minutes to propagate
Step 4: Verify Your Domain
Go back to the Google Admin verification page and click Verify.
If the DNS record is detected successfully, you’ll see a confirmation message indicating that your domain has been verified.
🎉 Your domain is now connected to Google Workspace.
Common Errors and How to Fix Them
If verification fails, try the following:
- Double-check the TXT record value
- Confirm the record is added to the correct domain
- Wait 10–30 minutes and try again
- Make sure there’s only one active verification TXT record
DNS propagation can take time — patience is important.
What to Do After Domain Verification
Once your domain is verified, you can:
- Create user accounts
- Activate Gmail
- Configure MX records
- Set up SPF, DKIM, and DMARC
- Secure your domain and email delivery
These steps are essential for a professional and reliable email system.
Final Thoughts
Domain verification is a one-time setup, but it’s a critical foundation for Google Workspace. Taking a few minutes to configure it correctly will save you hours of troubleshooting later.
If you need help with Google Workspace setup or DNS configuration, feel free to reach out through Shun Technologies.